
Last updated on February 4, 2021
Essential tools: Miter saw, table saw, band saw, router, electric drill, hammer, chisel, 4 – 48″ pipe clamps, 4 – 36″ clamps, 4 – 24″ clamps.
Additional helpful tools: Jointer, palm sander, drill press, pneumatic crown stapler, and as many clamps as you can get.
This is what I started with. 2×4 and 2×6 framing lumber.

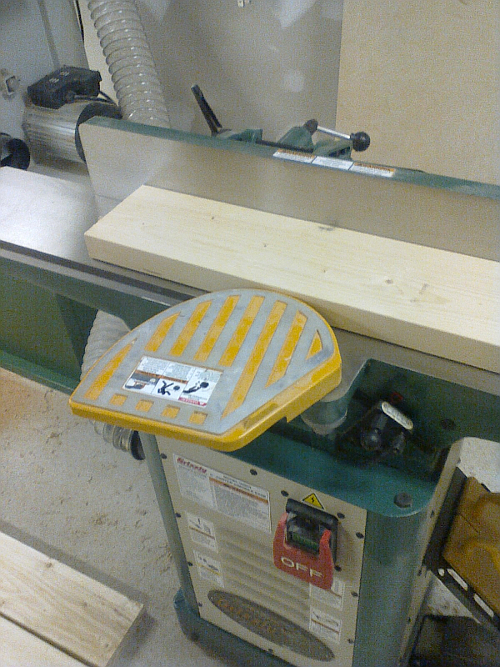
After the pieces were cut to rough size, I ran them through the jointer to give a flat surface for gluing.
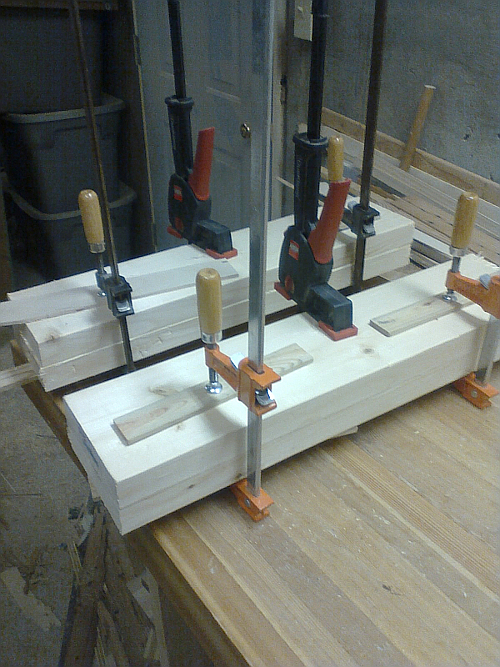
Gluing together 2x4s to make the front legs.
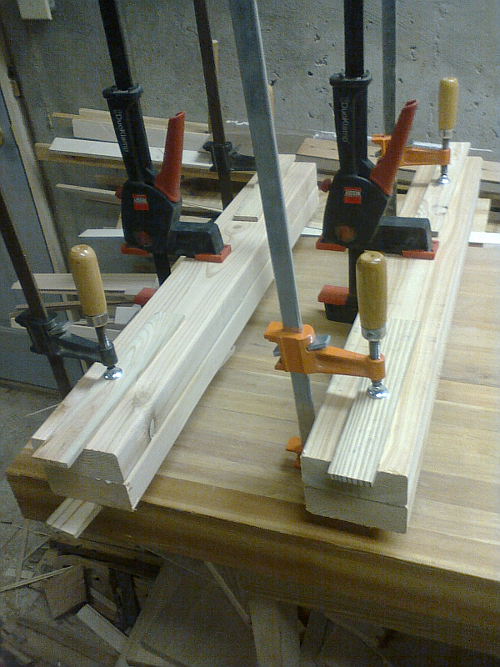
Making the back leg blanks from 2x6s.
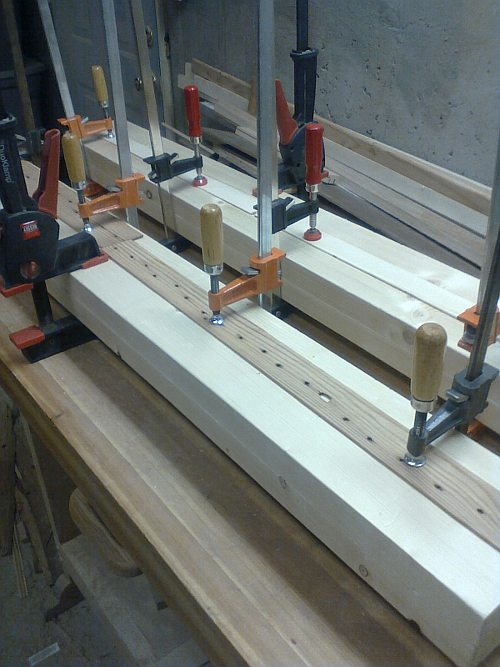
Gluing 2x6s to make the arm blanks.
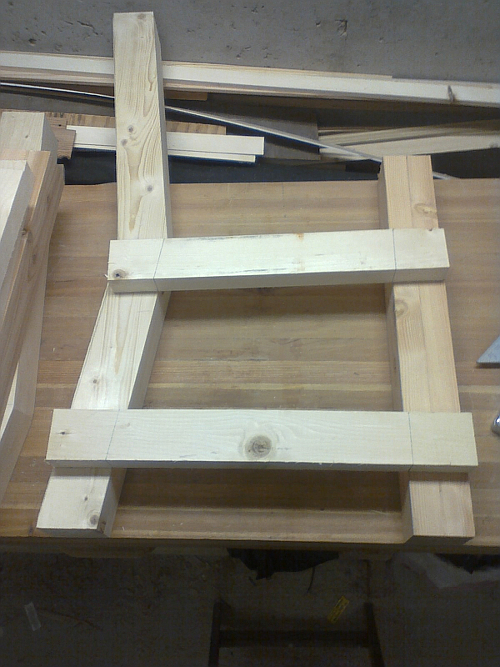
Back leg blanks, marked and ready to cut to shape.
![]()
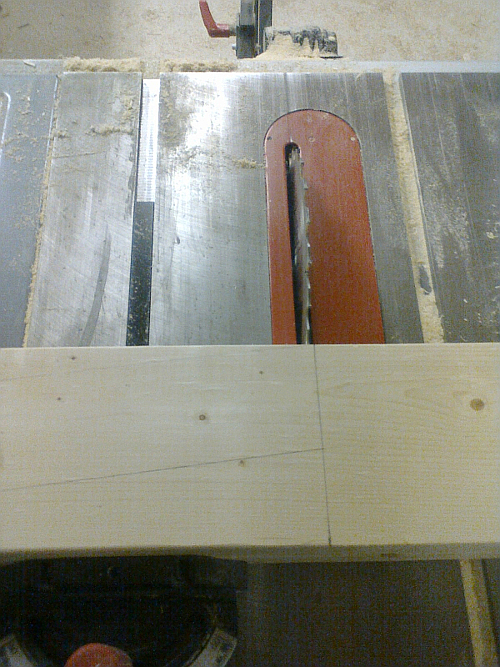
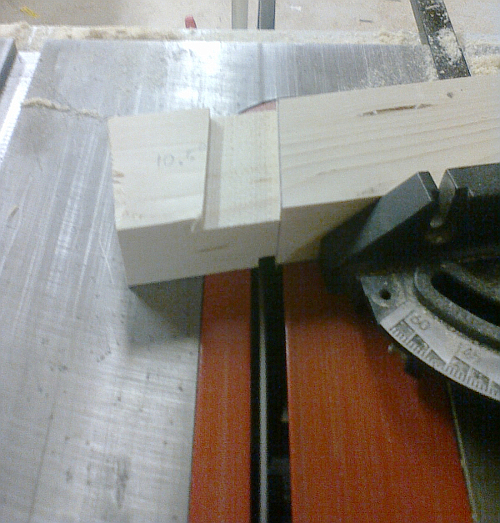
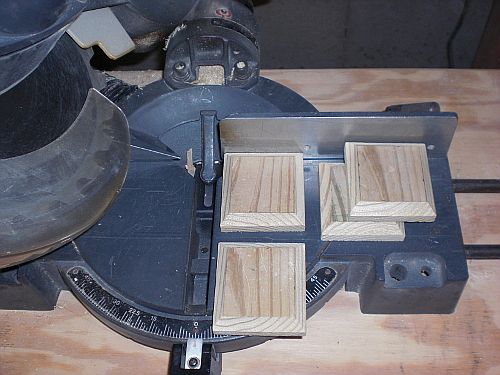
Cross cutting a back leg to length.
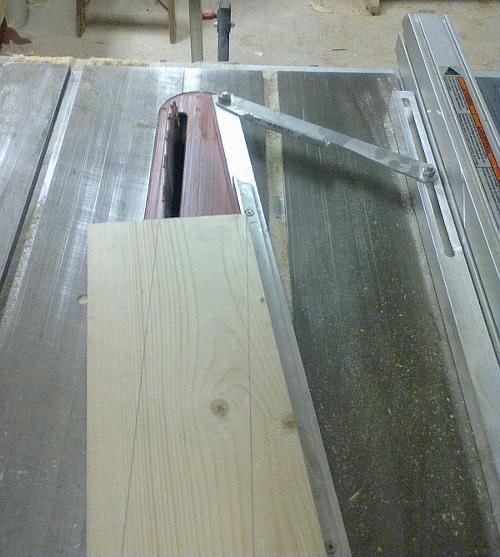
Here I’m using a tapering jig on the table saw to rip the angle on a back leg. The forward side of the leg can but cut completely on the table saw, but the cut has to stop short on the back where the angles come together to make an inside corner. The cut is then finished on the band saw. This could be cut entirely on the band saw, but the table saw makes a straighter, cleaner cut that requires less sanding.
These pieces I’ve just ripped will become the front, back, and side rails.

Marking the side rails in preparation to cut the tenons.
Cutting a side rail tenon on the table saw using a miter gauge. All the joints are made with mortise and tenon.
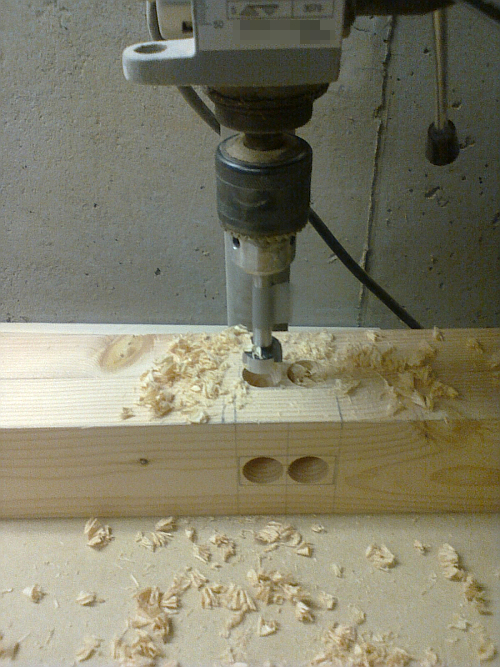
Drilling a front leg with a forstner bit to ease the mortise cutting process.
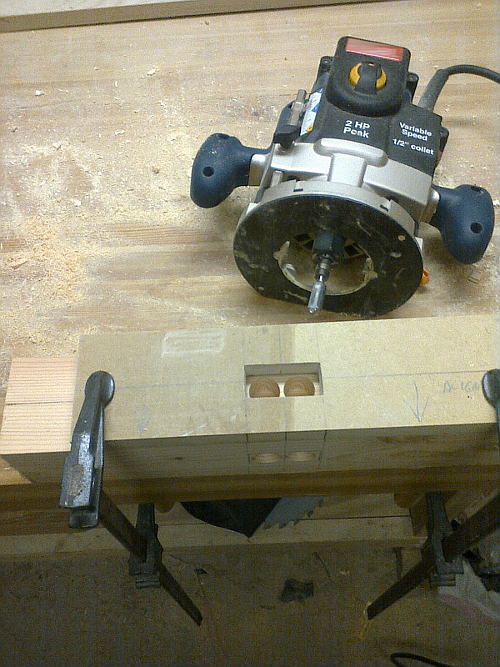
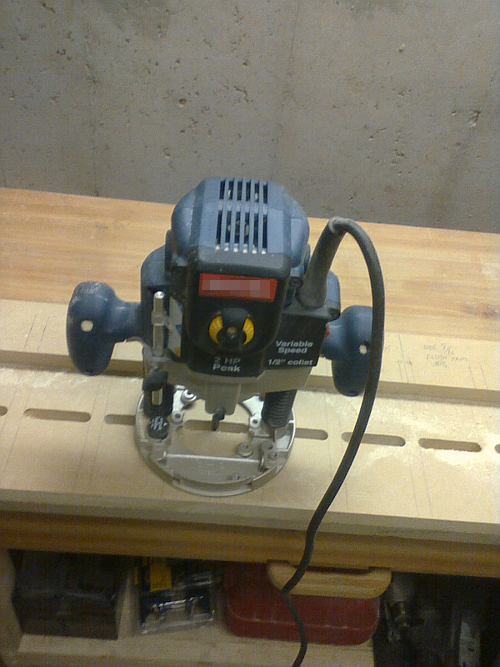
Using a mortise cutting jig with a router and flush trim bit.
First dry assembly.
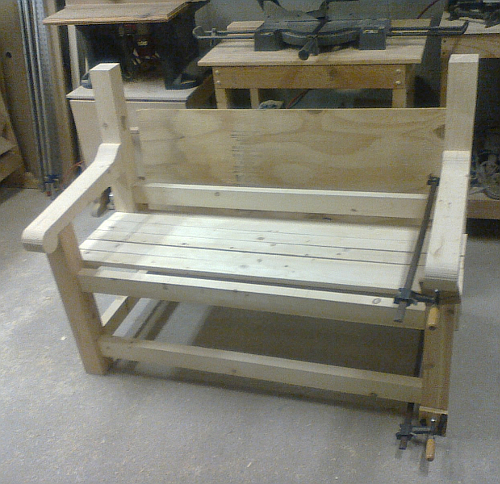
I made a template (pictured later) for one half of the back rest, in order to exactly duplicate the pattern on each side. Notice the angled corner supports on the bottom front rails. These are also on the back corners, as well as all four corners under the seat.
I used a router with a flush trim bit and jig to cut mortises to accommodate the slats. The same jig worked everywhere the bench has slats.
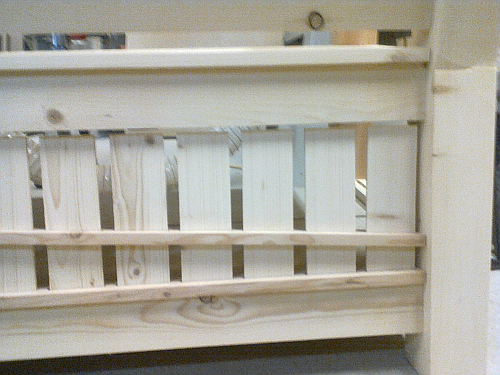
Here I’m installing the rear slat assembly. I chose not to cut mortises directly into the top and bottom rails to lessen the difficulty of assembly. I left a reveal on the mortised pieces that hold the slats to add depth, keeping the bench from looking too plain.
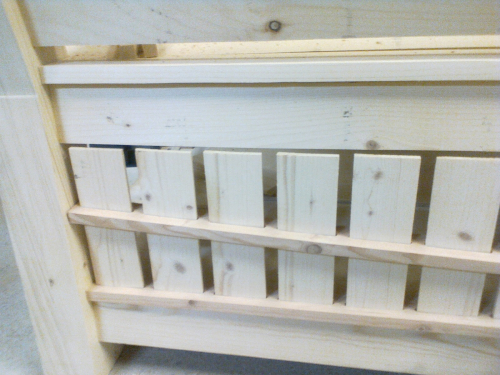
Gluing the rear slat assembly in place.
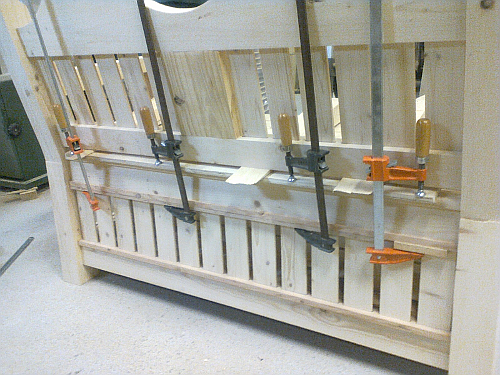
Installing side slats.
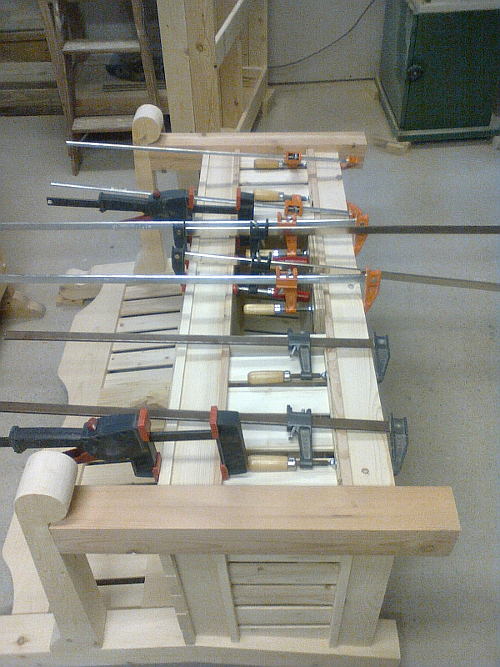
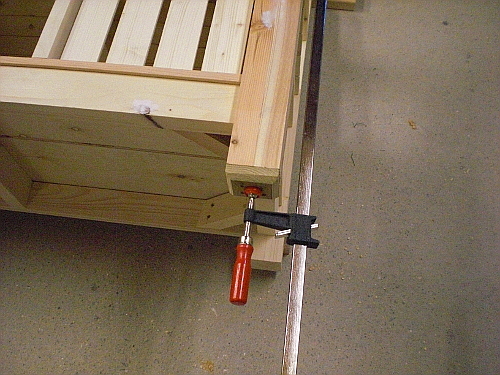
Gluing the front slat assembly in place. Can a woodworker have too many clamps? I think not.
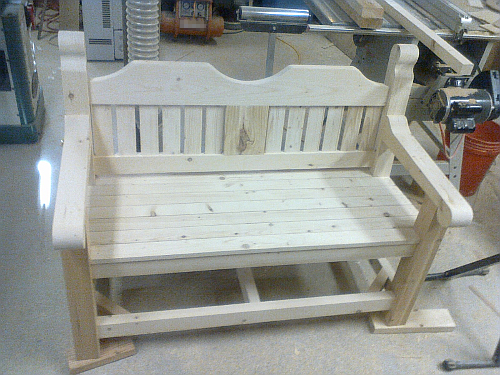
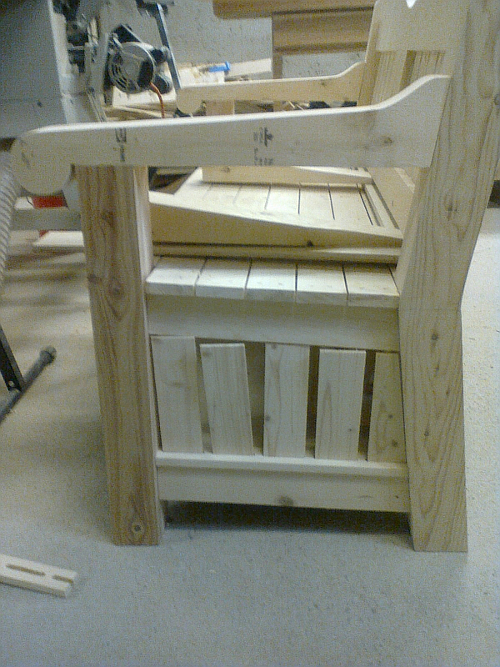
All major assembly is done. It just needs doors for the storage compartment, and feet.
Since the bench will be going on a screened front porch that can get wet during a windy rain storm, I used pressure treated 1×4 to make the feet.
Gluing a foot pad to the bottom of a leg.
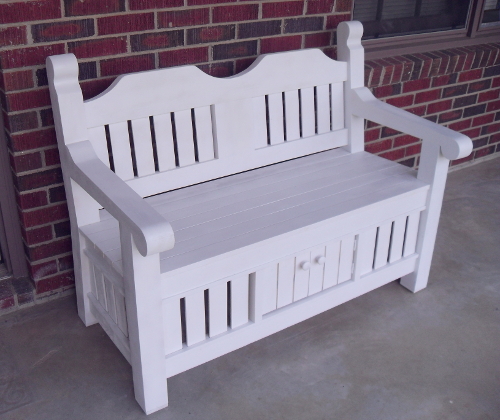
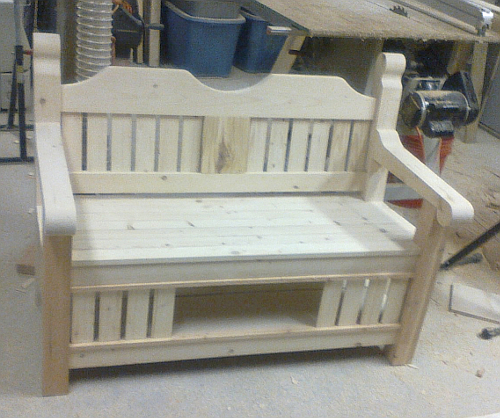
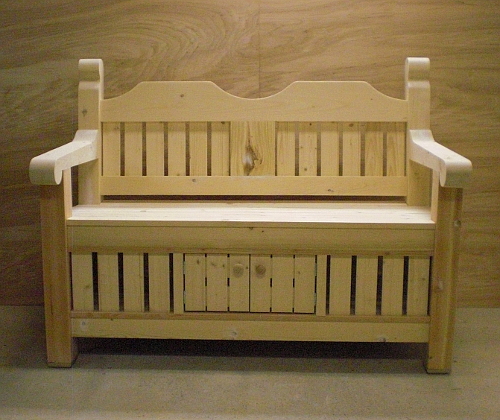
And here it is, ready to paint.
Another angle.
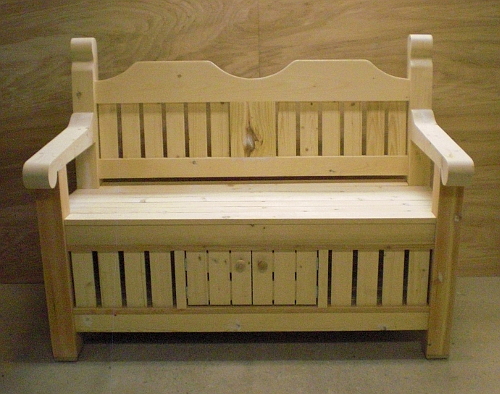
From the side.
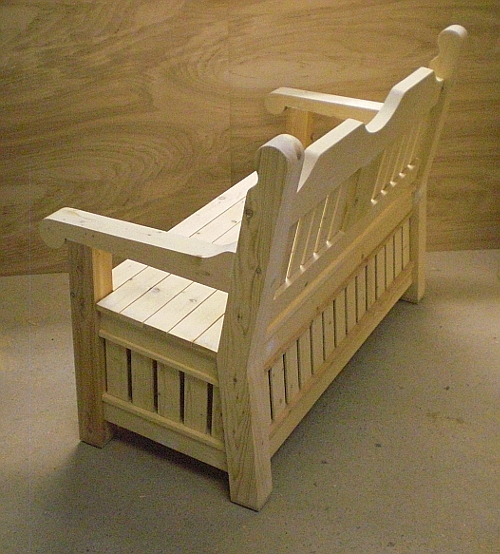
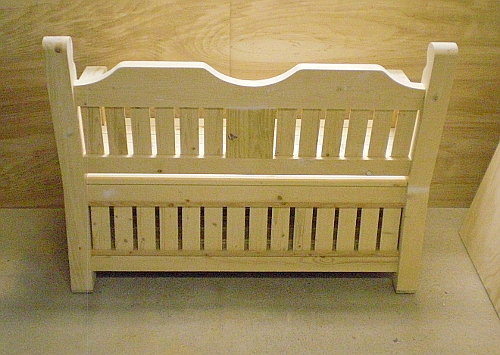
From the back.
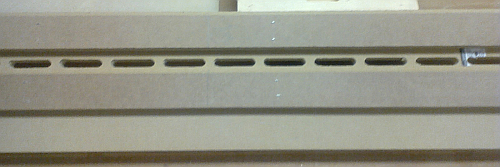
Backrest template. Mortise jig for joints. Mortise jig for slats. The white pieces went under the slat mortise jig to keep from cutting into my work bench. The thin strip lying across the white pieces is a spacer that fits in the bottom of the jig to keep the work tight when it’s clamped.

This shows the guides that the work fits between on the bottom of the slat mortise jig.
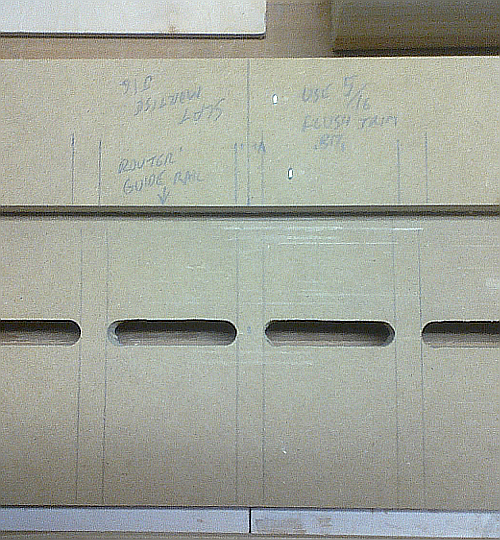
In this close-up you can see the router guide rail on the top of the slat mortise jig.
Be First to Comment